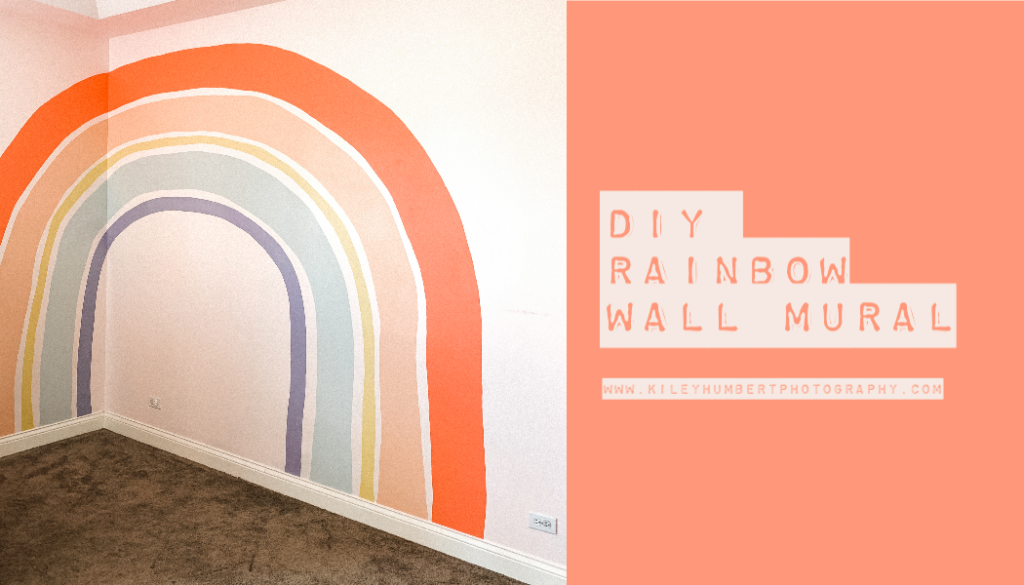
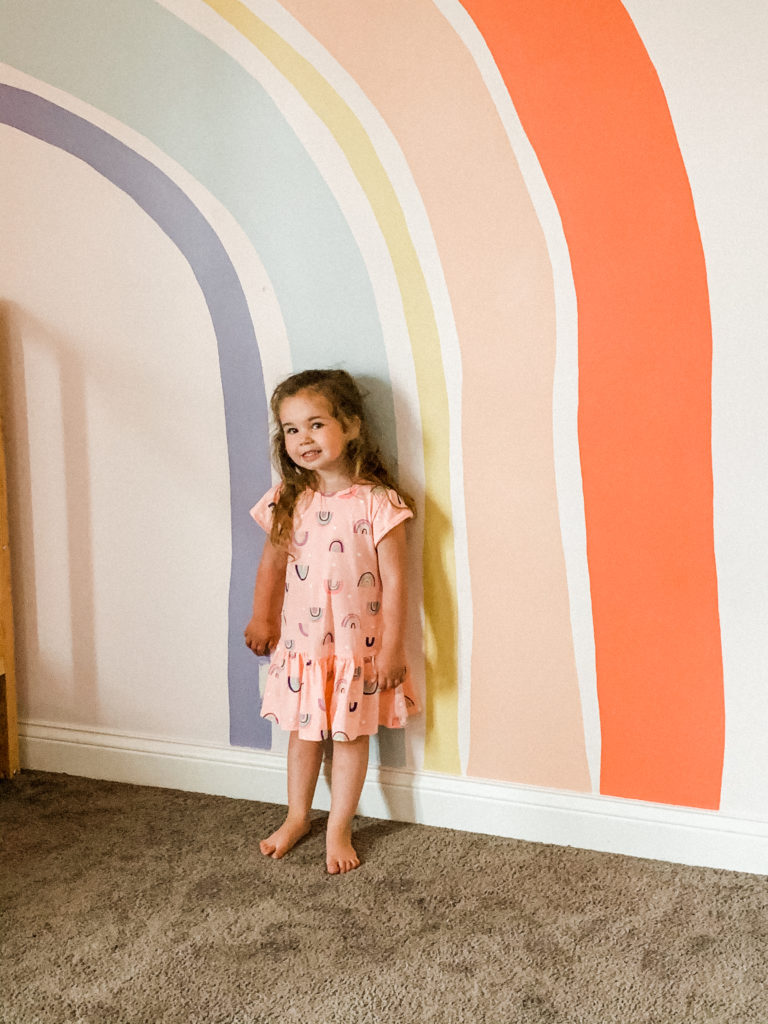
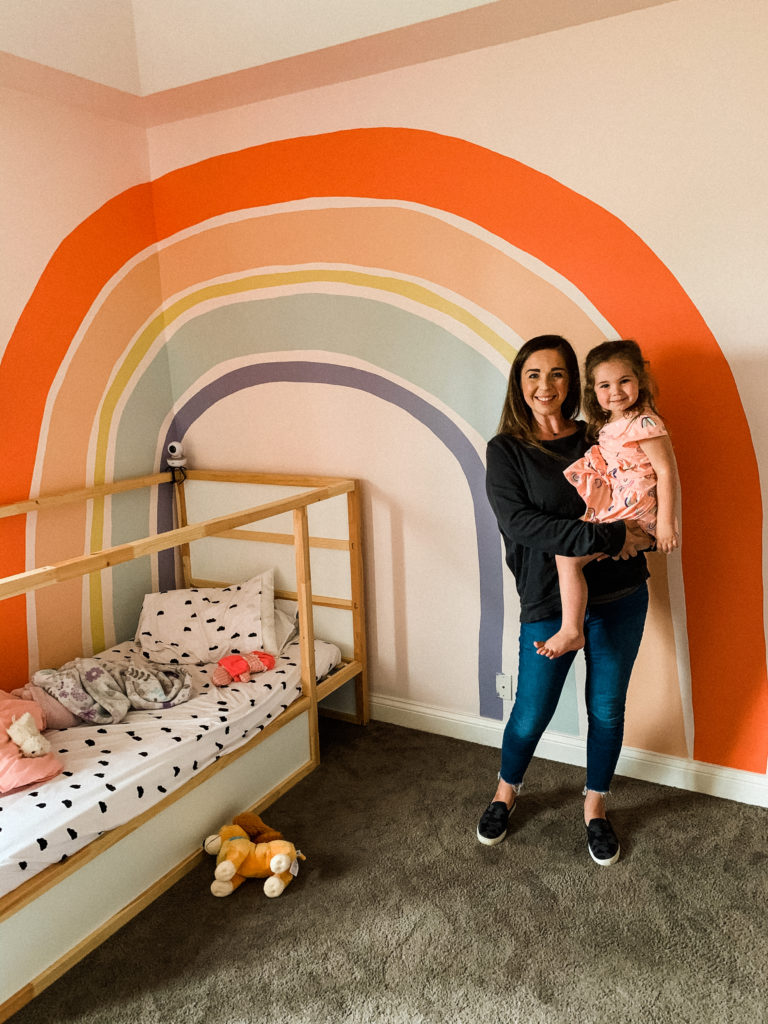
If you’ve got the free time, I’ve got the ULTIMATE time waster. A giant DIY Rainbow Mural!!

Materials:
- Wooster Paint Brush with Angle
- Paint Samples (1 for each color chosen, I used 5 sample size paints from Sherwin Williams)
- Painter’s Tape
Instructions:
- Decide how large you want your rainbow to be in full. Mine is giant. Like, it’s probably 10 feet wide. The space between each of my colors is about 2-3 inches, and my largest coral colored rainbow section is about 6 inches wide. (There will be very limited technical guidance on this, because I truly “eyeballed” this mural).
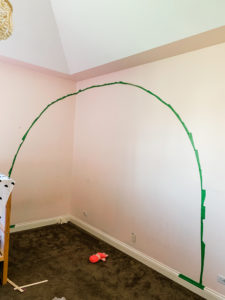
- Paint your wall the base color you want your room to be. We had our wall paint color still “My Sweetheart” by Behr, from when we painted the nursery.
- Get your painters tape and start to form your first giant U (upside down, durr). You do this by going to the top most part of the arch, and placing tape bit by bit as you go. You’ll be able to adjust the painter’s tape, and you’ll want to as you step back and look from different angles. It helps to tear the tape in half and bend as you go. You can do this for each layer, or wing it by eyeballing it all!
- Take a light colored pencil (dark pencil is often times difficult to remove), and a ruler, and mark off your selected rainbow color width, using the base as a guide to help choose the length (around 6 inches wide is what I chose).
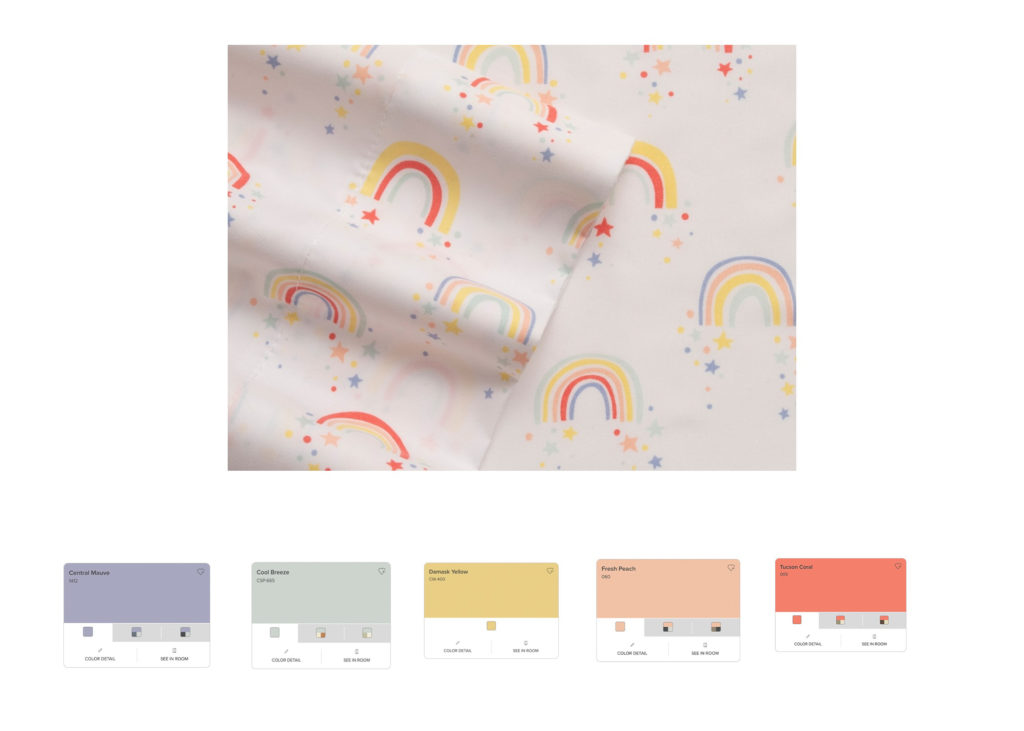
- Plan out how many colors + “rainbow hues” you’ll want. Here’s my color palette. I chose the colors based on the exact RGB color codes from my daughter’s rainbow bed sheets I bought. Taking the RGB codes + plugging them into EASY RGB, I was able to select the paint brand I preferred (Sherwin Williams has contactless pickup, YAY!) and found the matching colors.
- Time to paint! Use your brush + dip in color, don’t stress too much. You’ll need a few coats of pain and can touch the lines up by hand in. the end!
- Take the light colored pencil + hop down a few inches (mines between 2-3 inches) and then decide how big you want your next color to be. My second color was about 4.5 inches wide across. I made the yellow (3rd color) about 1.5 inches. There was no plan or rhyme or reason. Go with your gut – it’s.just.paint. Just notch out the same amount gap space as you follow the rainbow curve
- Finish your rainbow by continuing on painting one color at a time. Leaving 1-2 ish inches between each color is fine, or if you leave 3 inches between each color, you will have more wiggle room when you go back in and touch up your lines. This might be good if youre not a pro muralist like me (HAHAHAHAHA) because you’ll be able to make each hue curvier + more fun! It’s up to you, of course! Because this is a hand painted look, it’s totally fine if you have some thicker or thinner spots. You can’t screw this up. I drank vodka spritzers while I did this.
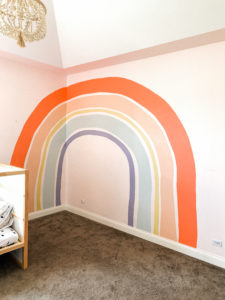
- Go back and touch up each color, by hand. You’ll have extra paint, of course! I used left over paint to color up some shiplap we had previously installed in the reading nook corner of my daughter’s room!
I LOVE the way the mural turned out. It’s so stinkin’ happy to look at, and my kid is thrilled….which makes it all worth it! Don’t forget to check out the “what to buy to keep your toddler entertained during COVID-19” blog, too!
I’m eager to hear if you try this and see photos of yours – be sure to use good quality materials, it truly matters! And don’t forget, I’m an amazon affiliate, but I’ll never endorse anything I don’t LOVE!
